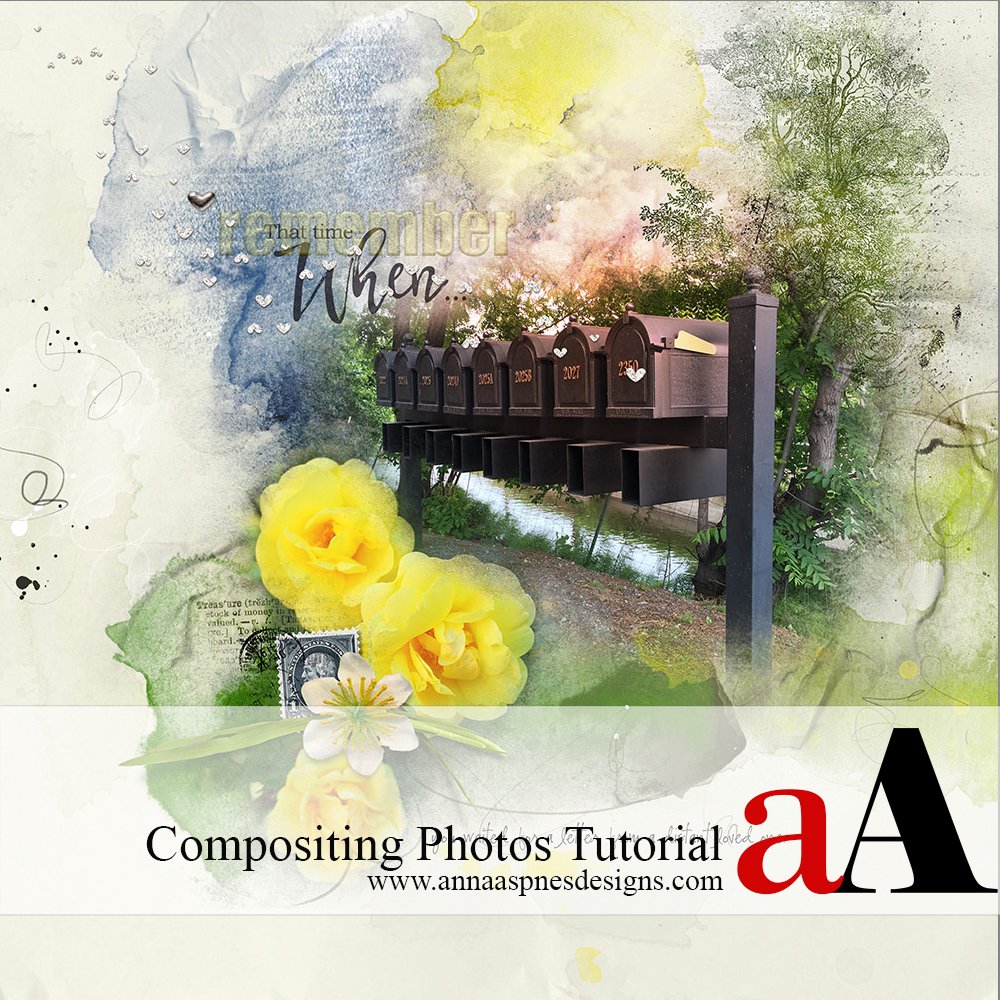
Barbara, shares her 3 Step Digital Scrapbook Photo Compositing Tutorial in Adobe Photoshop.
3 Step Digital Scrapbook Photo Compositing Tutorial
Compositing is a multi-photo approach to blend photos together in a digital scrapbooking page.
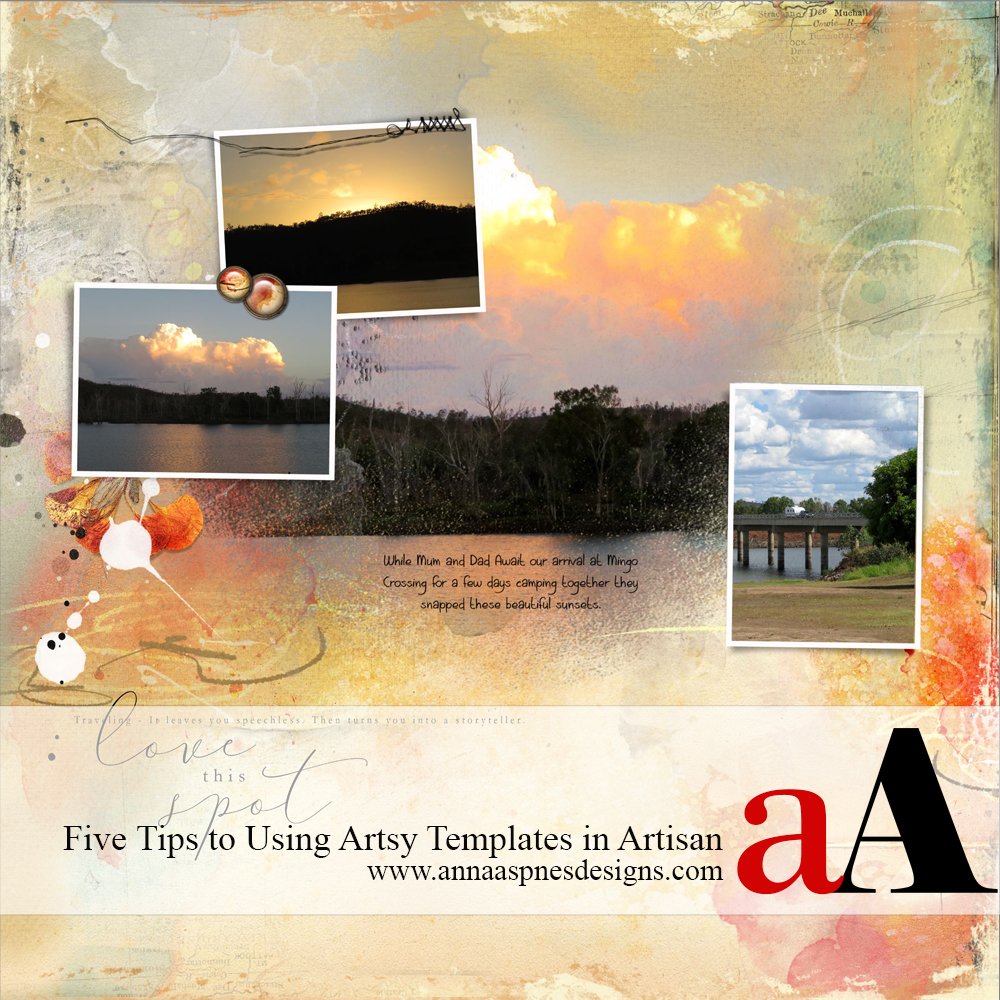
On this page, I composited two photos together, but the technique works the same, no matter how many photos you use.
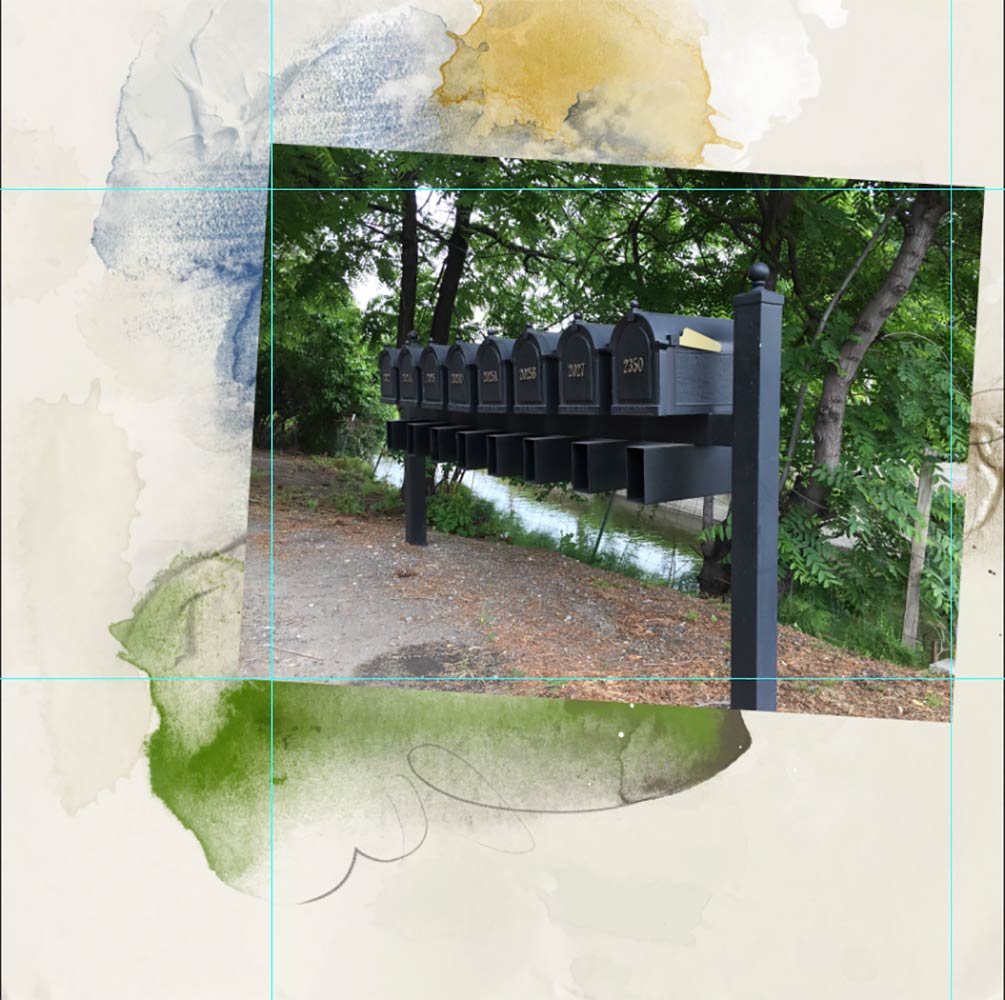
1. Using Guides
- Open and place the photo of choice.
- Use Guides placed at the edges of the photo to mark the edges of the image
- Add an Inverse or Reverse Layer Mask to the photo layer.
- Use AnnaBlendz Artsy brushes to reveals areas of the image.
Note that, the Guides help me to avoid the edges of the photo.
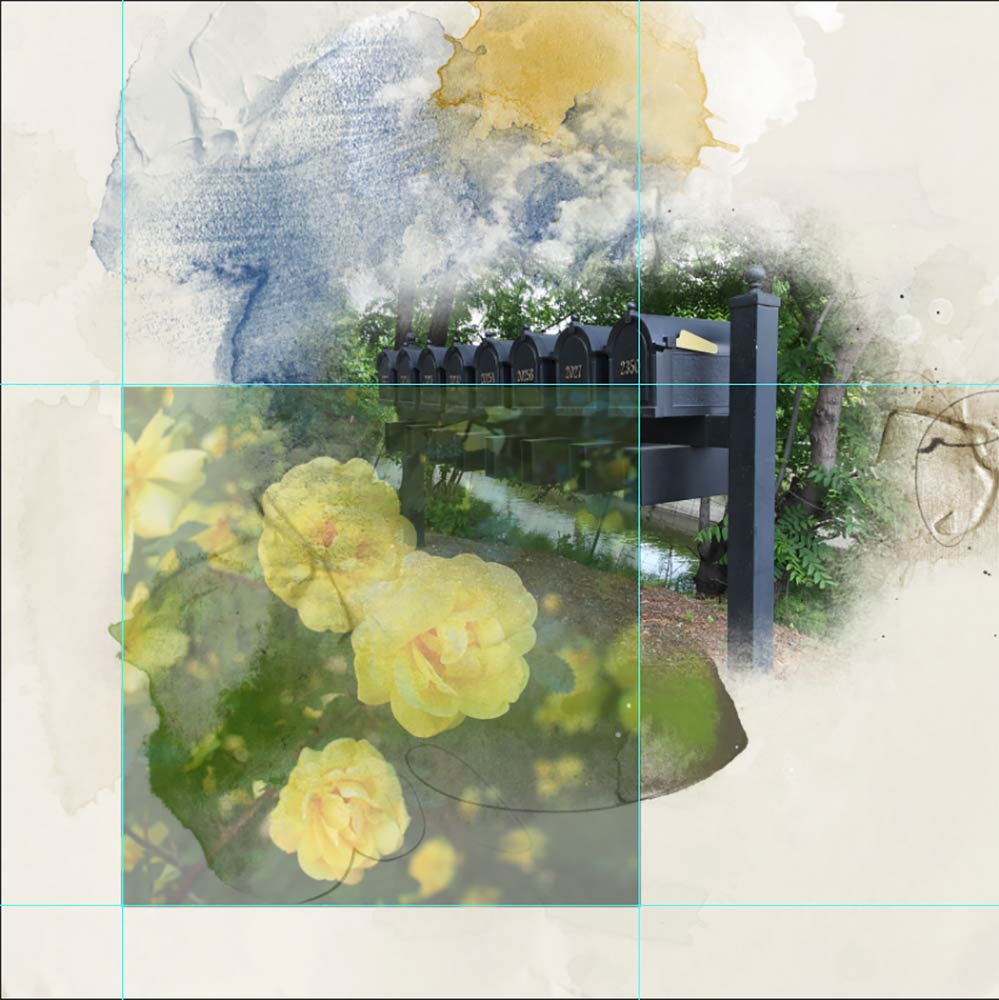
2. Transparency via Opacity
- Open and position a second photo.
- Reduce the Opacity so you can see through to the first photo layer.
- Position and resize to find the best fit.
- Increase the Opacity back to 100%
- Add the Guides to the edges of the photo and repeat blending process to reveal areas of the image.
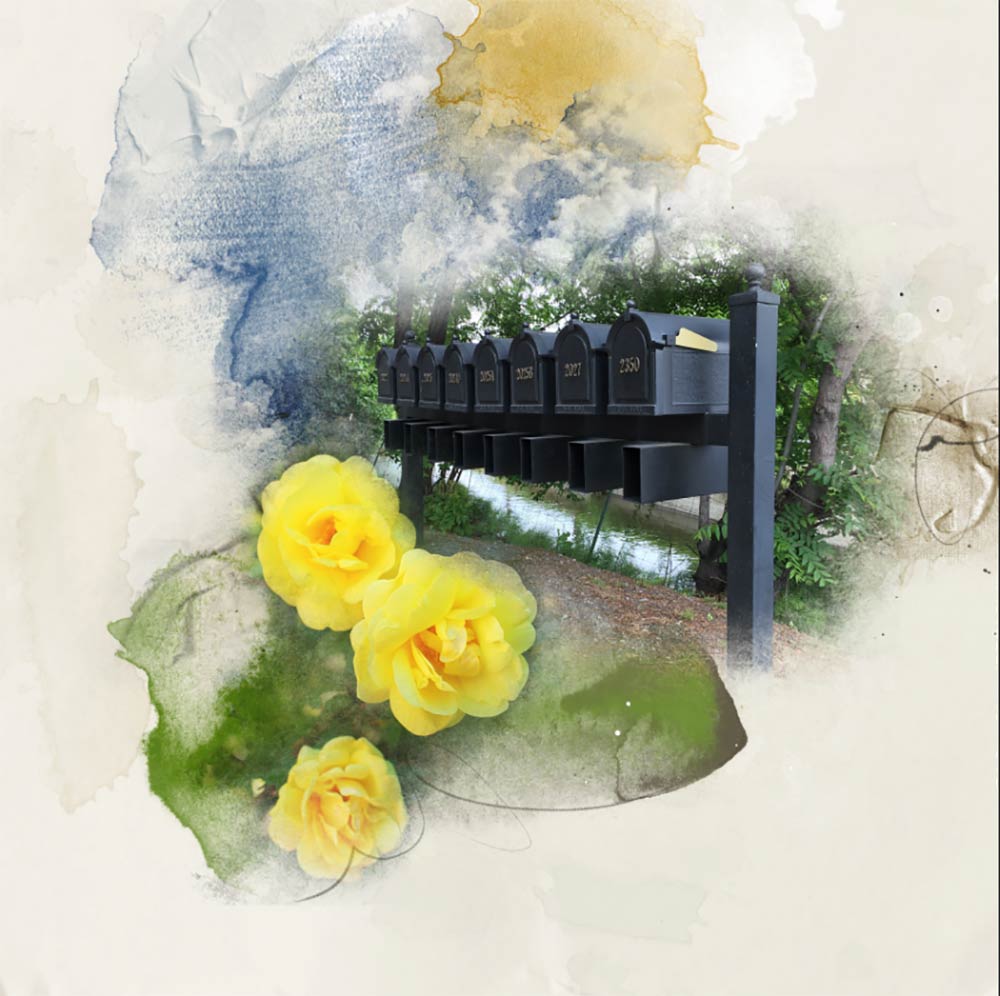
3. The ‘Right’ Background
- Select a background that co-ordinates with your photos in terms of color and theme.
- You want your images to blend seamlessly and the ease of transitions will be impacted by the colors you choose.
- For this layout, I chose ArtsyPaper4.jpg from ArtPlay Palette Heartland.
Conclusion
The 3 Step Digital Scrapbook Photo Compositing Tutorial is a great go-to method for blending multiple photos on a layout.






Recent Comments